Machine vibration
Measuring vibration in accordance with ISO 20816-1
What is machine vibration
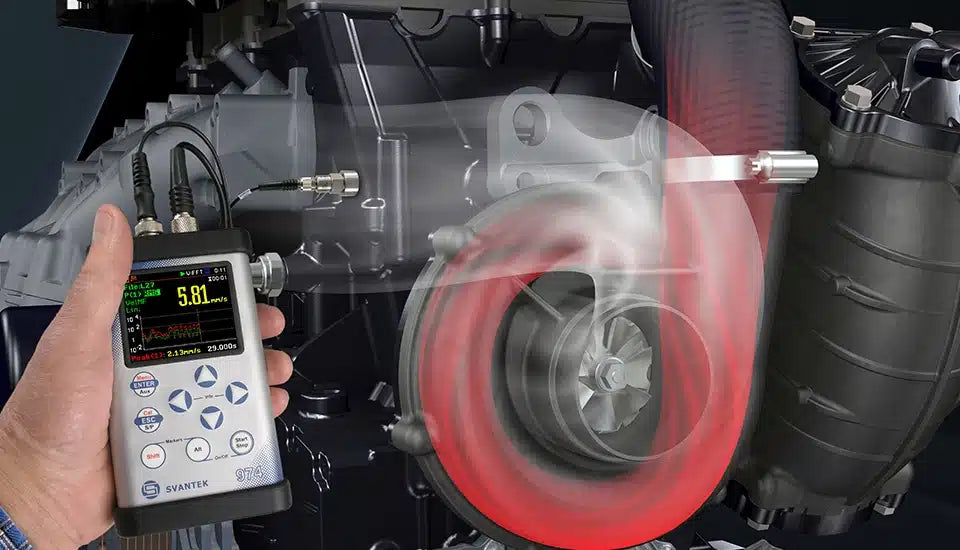
Machine vibration is the movement of a machine or its parts in response to an applied force. The amplitude of vibration is the magnitude of this movement, which is typically measured in micrometers, millimeters, or meters.
What causes vibrations in machinery?
Machines are now being operated at increasingly high rotational speeds and loads, as well as more flexible operation at part and full load, and under increasingly severe operating conditions. Machine vibration can be caused by movement a variety of factors, including imbalanced loads, misalignment of components, and uneven surfaces. In many cases, it is possible to undue machine vibration by making adjustments to the machine or its parts. However, some vibration is inevitable and can cause problems such as noise pollution and wear on components. Therefore, it is important to understand how machine vibration works to minimize its negative effects.
What is machine vibration analysis?
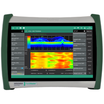
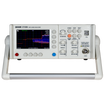
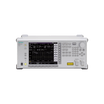
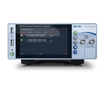
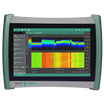
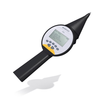
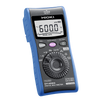
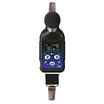
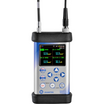
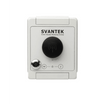
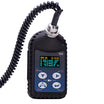
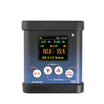
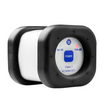
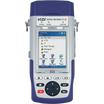
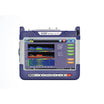
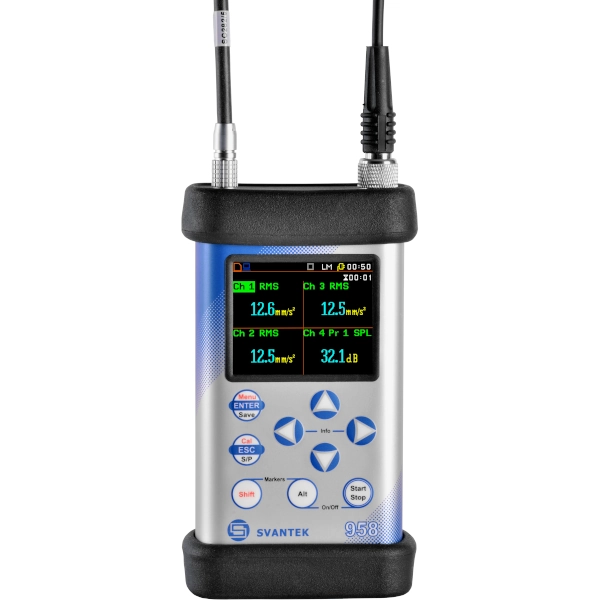
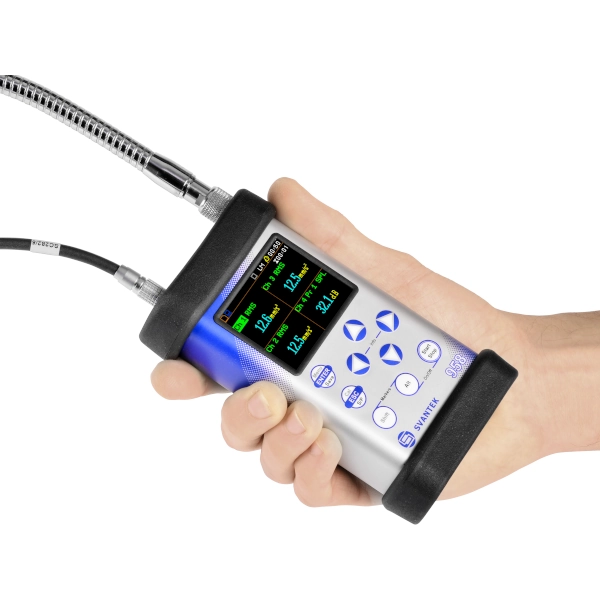
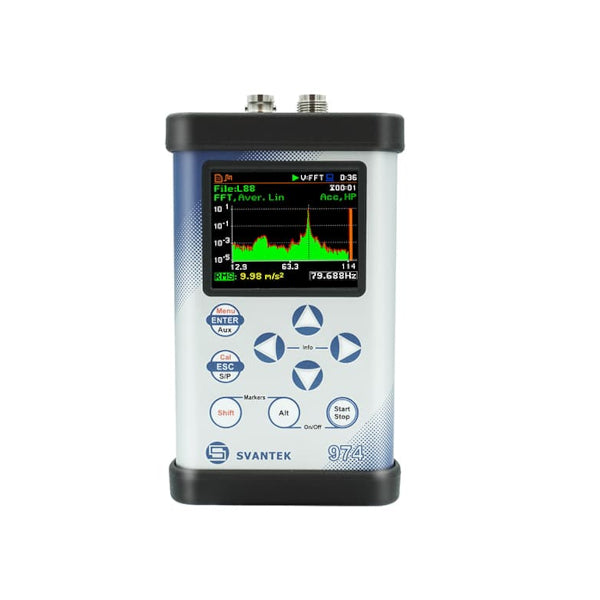
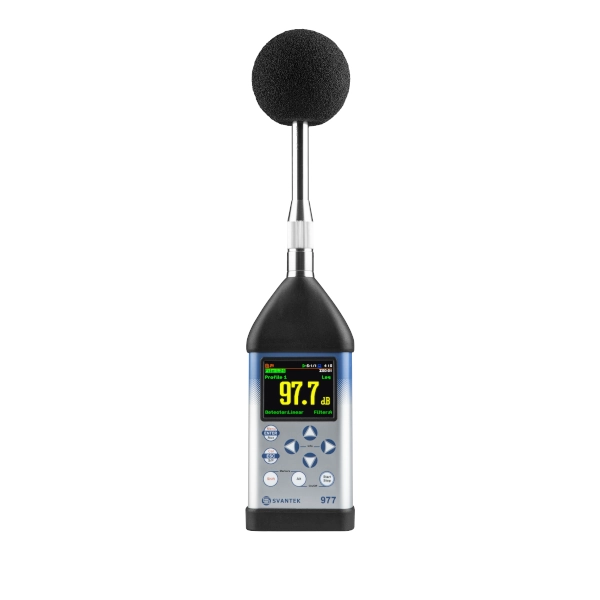
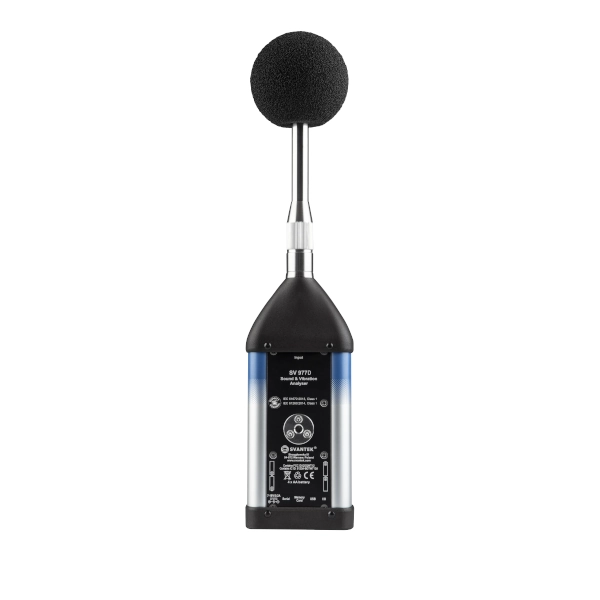
Machine vibration analysis is used for several purposes, ranging from routine operational monitoring and acceptance tests to advanced experimental testing, as well as diagnostic and analytical investigations. ISO 20816-1 (formerly ISO10816) provides guidelines primarily for operational monitoring and acceptance tests providing limits for three primary vibration quantities: displacement, velocity, and acceleration. SVANTEK vibration meters are equipped with all required filters for vibration analysis, machine vibration measurements and machine condition monitoring.
Why measure vibration?
Vibration measurement is the best way for assessing dynamic conditions like balancing (general vibration), bearing flaws (enveloping), and component stress. Excessive vibration is a common symptom of mechanical issues. Vibration can be used to measure problems such as rotor imbalance, misalignment, mechanical looseness, structural resonance, soft foundation, and gear mesh faults. A machine’s present state of health can be determined by measuring the “overall” vibration of a machine, a rotor in relation to a machine, or the machine’s structure and comparing the measurement to the norm.
Machine vibration
Monitoring
Causes of vibration
Vibration is one of the most common issues that can affect machinery, and it can have several causes. One of the most common is missing balance weights. When balance weights are missing, it throws off the rotating component, causing the machine to vibrate. Another common cause of vibration is worn or damaged bearings. When bearings are damaged, they can cause the rotating component to wobble, which also leads to vibration.
What Is Predictive Maintenance?
Predictive maintenance is the process of gathering data from machines while they run to help with decisions on their health, repairs, and potential upgrades before an unanticipated breakdown. The goal of predictive maintenance is to increase profitability by lowering maintenance costs.
Trend Comparison
Comparing the most recent reading to earlier readings for the same measurement Point, which allows you to observe how the Point’s vibration values are “trending” over time, is the most effective and dependable way to assess vibration severity. When the values are presented in a “trend plot,” it is simpler to understand this trend comparison between the current and previous data. A trend plot shows values from the present and the past shown through time. A baseline (known good) reading should be included in measurement records as well. After an overhaul or when other indicators indicate that the machine is functioning properly, the baseline value may be obtained. To identify machinery changes, subsequent data are compared to the baseline.
Measurement techniques
Machine vibration measurements are employed for a variety of tasks, including routine operational monitoring, acceptance tests, sophisticated experimental testing, diagnostic and analytical studies, and more. The many different measuring goals result in a wide range of interpretation and evaluation techniques.
Measurements taken on non-rotating parts are sufficient for some machines to characterize their running characteristics in terms of trouble-free operation. Other machine types, like steam turbines, gas turbines, and turbo compressors, can exhibit a variety of vibration modes in the service speed range. Machines in these classes require a more accurate and sensitive way to track changes in vibration conditions, such as shaft vibration measurements.
It is common practice to measure vibration on non-rotating parts or to measure relative shaft vibration, or both. The measurement type for the protection system is normally based on the experience of the machine manufacturer. The measurement of vibration shall be broadband so that the frequency spectrum of the machine is adequately covered.
Vibration measurements on non-rotating parts are generally carried out with a seismic transducer that senses the absolute velocity or acceleration of structure parts on which it is mounted (e.g. the bearing housing). Relative shaft vibration measurements are generally carried out with a non-contacting transducer that senses the vibratory displacement between the shaft and a structural member on which it is mounted (e.g. the bearing housing).
Vibration magnitude
Vibration Magnitude is defined within this group of standards as the maximum value of the broadband RMS velocity in the specified frequency range (typically from 10 to 1,000 Hz), as evaluated on the structure at prescribed points. To assess the machine vibrations the following measurement quantities can be used:
a) vibration displacement, measured in micrometers;
b) vibration velocity, measured in millimeters per second;
c) vibration acceleration, measured in meters per square second.
How do reduce vibration in machines?
To reduce vibration in machines, make sure that all balance weights are in place. Second, check the bearings and replace any that are worn or damaged. By taking these simple steps, you can help to reduce vibration in your machinery and keep it running smoothly.
The instrumentation used shall be designed to operate satisfactorily in the environment for which it is to be used, for example, with respect to temperature and humidity. Specification for instruments for measuring vibration severity is given in ISO 2954 and instruments for measuring shaft vibration are specified in ISO 10817-1.
Particular attention shall be given to ensure that the vibration transducer is correctly mounted and that its presence does not affect the vibration response characteristics of the machine. Specifications for mounting accelerometers are given in ISO 5348, which, in principle, are applicable also to velocity transducers.
Modern instrumentation can provide multiple methods to deliver a measurement value. The acceptance criteria here are based on r.m.s. velocity in mm/s for measurements on non-rotating parts and peak-to-peak displacement in micrometres for measurements on rotating parts. The acceptance criteria may be scaled suitably to match the units in common use at the site, using the same assumptions as programmed into the distributed control systems.
It is desirable that the measurement system has provision for on-line calibration of the readout instrumentation and, in addition, has suitable isolated outputs to permit further analysis as required.
Measurement devices

